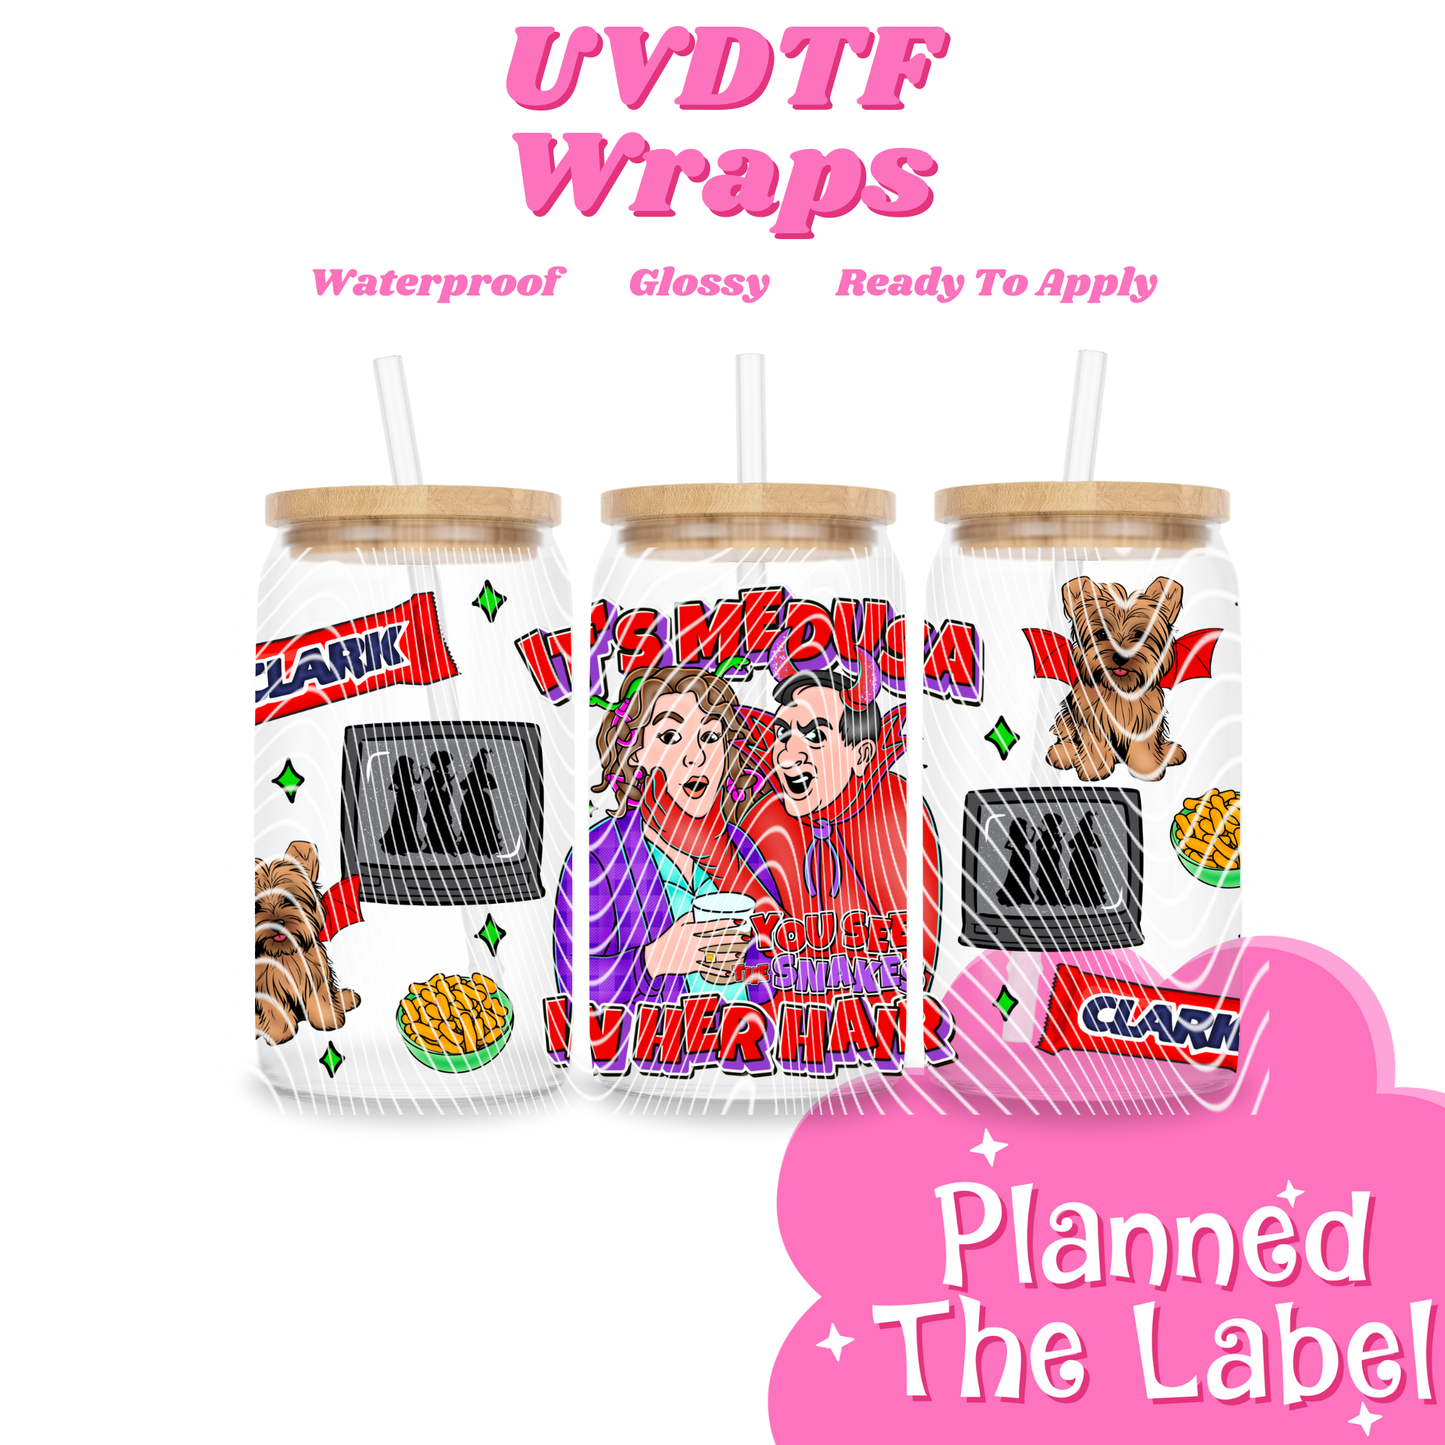
Its Medusa 16oz UVDTF Transfer
Its Medusa 16oz UVDTF Transfer
13 in stock
Couldn't load pickup availability
UVDTF Transfer Application Instructions
Materials Needed
-
UVDTF transfer print (pre-cured and laminated)
-
Substrate (glass, acrylic, metal, plastic, wood, etc.) – clean, smooth, and dust-free
-
Squeegee or firm scraper
-
Isopropyl alcohol and lint-free cloth
Step 1: Prepare the Surface
-
Clean the substrate thoroughly with isopropyl alcohol.
-
Ensure it is completely dry and free of oils, dust, or fingerprints.
-
A smooth surface ensures maximum adhesion and prevents lifting.
-
Step 2: Prepare the Transfer
-
Trim the transfer close to the design if needed.
-
Ensure both layers (A film with the print + B adhesive film) remain aligned and intact.
Step 3: Apply the Transfer
-
Peel the A film (print layer) with the B film (adhesive) still attached from its backing.
-
Position the transfer over the substrate carefully.
-
Lay it down starting from one edge to avoid air bubbles.
-
Use a squeegee to firmly press the transfer onto the substrate, working from the center outward.
Step 4: Remove Protective Film
-
Slowly peel off the top protective film at a sharp angle (about 180°).
-
If any part of the design lifts, lay the film back down, press again with the squeegee, and re-peel.
Step 5: Finishing
-
Inspect for bubbles or edges lifting.
-
Small bubbles can usually be pushed out gently with the squeegee.
-
-
Allow the adhesive to cure fully for 24 hours before washing or handling heavily.
Notes & Tips
-
UVDTF transfers adhere best to hard, smooth, non-porous surfaces (cups, mugs, bottles, signs, etc.).
-
Not recommended for fabrics or flexible substrates.
-
Hand-wash items only; avoid dishwashers for longest durability.
-
Store unused transfers in a cool, dry place away from sunlight.
These wraps are NOT to be re sold, we have purchased licensing from designers in order to print and re sell.
- Heading
- Heading
- Heading
Let customers speak for us

L♥️VE this pink sister design!! Will definitely return again to add more of your doll designs to my tumbler collection.
It's impossible to choose, just one from your many designs.
Positive shopping experience with this seller!!.

L❤️VE my Lucy tumbler!!!! Thanks so much!!!! When I saw this had to add it to my tumbler collection. Loved watching this show growing up.
Awesome shopping experience with this seller!!! So many tumblers of yours I want, so definitely return again!!!
Keep up the wonderful work !!!!


Best cups ever
no complaints excellent quality


Great quality transfers repeat customer


Oversized fit without swamping me, the print is quality and vibrant, and being able to choose from a wide range of fun options was great. I love it!